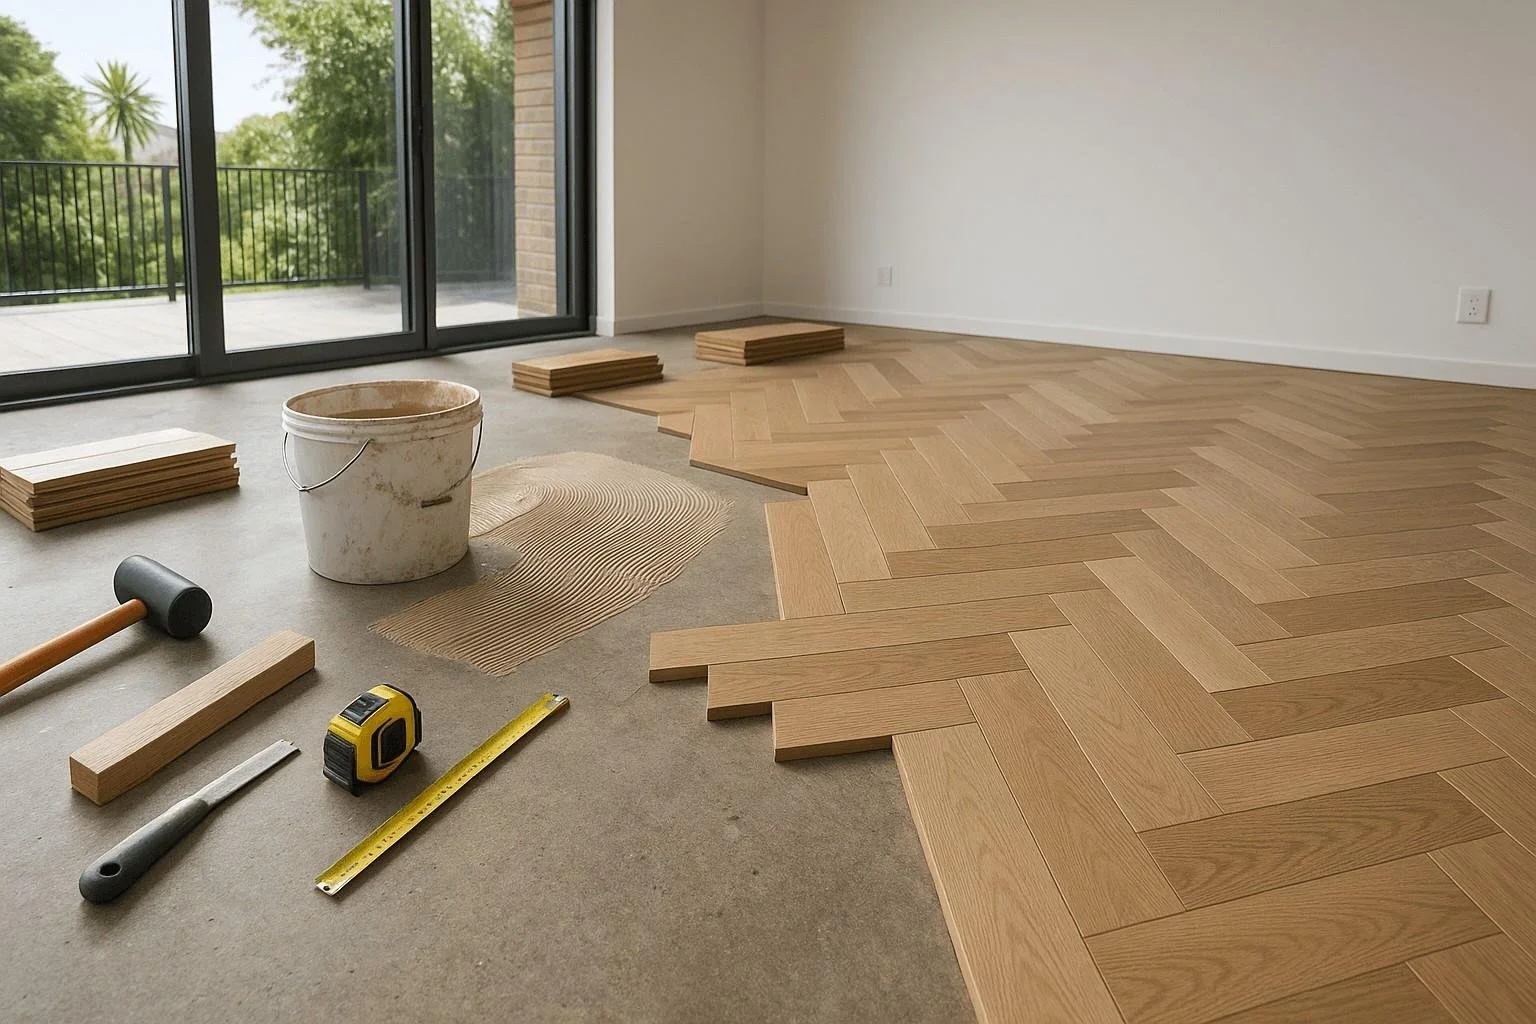
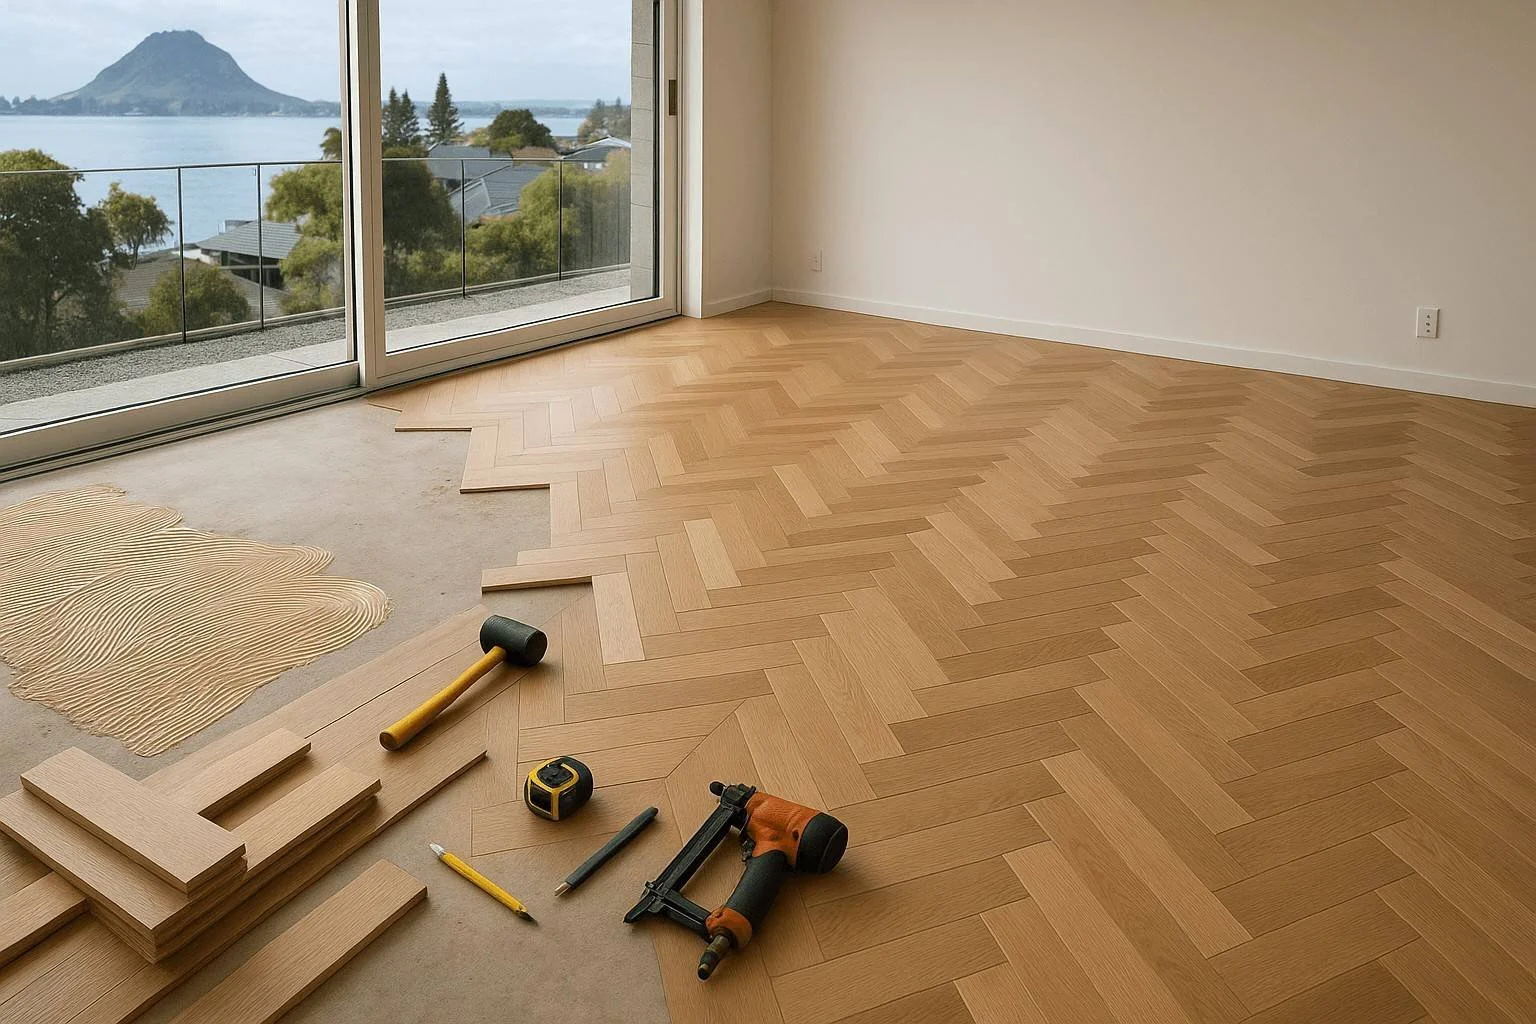
How To Lay Chevron Flooring
Learning how to lay chevron flooring can elevate the style of any space through its distinct zigzag pattern that adds elegance and sophistication. This comprehensive guide offers valuable insights to ensure a flawless flooring installation.
- Introduction
- Tools and Preparations Required
- Step-by-Step Chevron Flooring Installation Guide
- Why Choose Abstract Floors for Your Chevron Flooring Needs
- Frequently Asked Questions
Chevron flooring has emerged as a timeless trend offering a sophisticated twist to traditional styles, captivating the eyes with its distinctive V-shaped pattern. Whether you're looking to renovate your home or upgrade a commercial space, knowing how to lay chevron flooring is paramount to achieving that elegant finish. This intricately patterned floor choice requires meticulous attention to detail, but when done correctly, it can significantly enhance the aesthetic appeal of any room.
Understanding the Chevron Pattern
The chevron pattern has been a staple in design across various applications, from fashion to flooring, due to its striking geometric form. Unlike the herringbone pattern, where planks meet each other perpendicularly, chevron floorboards are cut at an angle to create a seamless inverted V pattern. This design is particularly popular in both modern and traditional homes, thanks to its versatility and timeless appeal.
Importance of Quality Materials
Choosing the right type of wood is crucial when laying chevron flooring. High-quality timber not only ensures durability but also contributes to the visual perfection of the installed floor. At Abstract Floors, located in the picturesque Tauranga, New Zealand, we offer a vast selection of premium timber options that promise both longevity and aesthetic grace.
Quality materials not only make the installation process smoother but also guarantee a finish that withstands wear over time. Opting for well-finished, premium wood enhances the beauty of chevron flooring, making it a worthwhile investment for any property.
Our team at Abstract Floors is dedicated to providing expert advice and guidance, ensuring that every chevron flooring installation exudes elegance and charm. With our knowledgeable professionals and extensive range of materials, laying chevron flooring becomes an achievable and rewarding project.
Tools and Preparations Required
When embarking on the journey of how to lay chevron flooring, having a comprehensive understanding of the necessary tools and preparations is key. Not only does this knowledge help streamline the process, but it also ensures that the flooring installation is executed with precision. Here, we delve into the vital tools you must gather and the preparatory steps you need to consider to set the foundation for a flawless chevron flooring installation by Abstract Floors in Tauranga.
Gathering the Essential Tools
Before laying any piece of chevron flooring, it's important to have all your tools at the ready. Key items include a quality tape measure, chalk line, spirit level, and a reliable set of saws, such as a table saw and a jigsaw, to accommodate both straight and angular cuts. Additionally, a rubber mallet will help in securing the flooring planks together without causing damage, while a flooring nailer or stapler can provide a firm hold. A cordless drill and screwdriver will be required for fastening purposes, and don't forget your safety gear: goggles, gloves, and knee pads are essential for protection during the installation process.
Preparing Your Subfloor
Proper preparation of the subfloor is crucial for achieving a level and durable chevron flooring installation. Start by thoroughly cleaning the area to remove any debris, dust, or residues that could impede adhesion. Inspect the subfloor for any irregularities, such as dips or high spots, and address these using a levelling compound. Moisture content is also critical; verify that your subfloor is dry to prevent future damage to the timber. For optimal results, an underlayment is recommended; not only does it provide a smooth surface but it also adds a layer of insulation and soundproofing. This step is vital in Tauranga's variable climate, as it helps maintain the stability and longevity of your flooring.
Checking and Organising Your Materials
Once tools and subfloor preparations are in place, shift focus to your materials. Open and allow your flooring planks to acclimatise to the room's ambient temperature and humidity. This is an important step to avoid expansion or contraction post-installation. Arrange the planks to plan the chevron pattern effectively, ensuring that you've accounted for and cut any pieces as necessary for a seamless fit. This advance organisation will aid in a smoother installation phase, reducing errors and waste.
Factors to Consider Before Beginning
Consider the direction and light source of your room as part of your preparatory work. Laying the chevron pattern parallel to the longest wall or towards a natural light source can accentuate the pattern's dynamic appearance. Additionally, take into account any thresholds or transitions to adjoining rooms. Create a detailed layout plan, noting where cuts need to be made and ensuring that end pieces are neither too small nor compromised in integrity. By addressing these factors ahead of time, you set a clear pathway for a successful chevron flooring installation.
Step-by-Step Chevron Flooring Installation Guide
Installing chevron flooring may seem daunting at first due to its distinctive pattern and careful precision required, but by following a structured approach, it becomes much more manageable. In this guide, we will walk you through each pivotal stage of the installation process, ensuring your flooring is not only visually stunning but also durable and well-laid.
Planning Your Layout
The first and most crucial step in chevron flooring installation begins with planning your layout. Measure your floor space carefully to determine the number of planks needed and consider the direction of your pattern. Typically, chevron patterns are laid parallel to the longest wall of the room, which can make the space appear longer and more cohesive. Arrange several planks beforehand to test your design and make adjustments as necessary to achieve the desired look.
Preparing the Subfloor
Before you begin laying chevron flooring, it's imperative to have a perfectly smooth and level subfloor. Inspect your subfloor for any issues such as protruding nails or uneven surfaces. Use a suitable underlayment, which not only aids in a level base but also provides excellent noise insulation. Ensuring a spotless surface will prevent bumps and gaps from appearing in the final product, maintaining the integrity of the chevron pattern.
Installing the First Row
The installation process commences with positioning the first row of planks. This step is critical, as it sets the tone for the rest of your layout. Begin by laying the first plank at a 45-degree angle against the longest wall, ensuring it aligns accurately with your sketched layout. Secure it firmly using your choice of adhesive or nails, depending on the subfloor type. Subsequent planks should fit snugly to form the characteristic V-shape of the chevron pattern.
Finishing Touches and Sealing
Once all planks are in place, review the entire floor for any gaps or misalignments. Once satisfied with the arrangement, apply a protective finish to seal the wood and enhance its lifespan. This layer not only protects the surface from wear and tear but also highlights the natural grain and rich tones of the timber. Allow ample time for the finish to cure before walking on the floor, ensuring your newly installed chevron flooring in Tauranga remains pristine.
Following these detailed steps will allow you to create a beautifully laid chevron floor that adds elegance and sophistication to your space. Now, let us explore why choosing Abstract Floors for your next flooring project will guarantee not only expertly installed flooring but also peace of mind.
Why Choose Abstract Floors for Your Chevron Flooring Needs
For your timber flooring projects, selecting the right professional team is paramount to achieving the beauty and functionality you envision.Abstract Floors, located in the picturesque Tauranga, New Zealand, has emerged as the preferred partner for those seeking excellence in flooring, especially when it comes to knowing how to lay chevron flooring effectively.
Experienced Local Experts
With a remarkable presence in Tauranga, Abstract Floors boasts a rich portfolio that showcases their prowess in creating stunning flooring designs that meet diverse aesthetic and budgetary needs. Their expertise in timber flooring, gleaned from years of service and dedication, ensures that each project is handled with meticulous attention to detail. Engaging with an experienced team that understands your local environment, climate impacts, and styling preferences is a significant advantage, ensuring your flooring stands the test of time.
What Sets Us Apart
Abstract Floors stands out from others due to their commitment to high-quality materials and precise craftsmanship. By selecting premium timbers and employing advanced installation techniques, they guarantee durable and exquisite chevron flooring finishes. Their customer-centric approach means they prioritise your satisfaction, providing personalised solutions that perfectly align with your vision.
Moreover, their reputation for reliability and professionalism is echoed in client testimonials and return customers, reflecting trust and excellence. As experts in Tauranga timber flooring, they ensure every stage of your flooring project is seamless, from initial consultation to the final touches, making them the reliable choice for your needs.
Contact UsLooking ahead, our upcoming section will address frequently asked questions, aiming to provide you with further clarity and confidence in your chevron flooring projects.
Frequently Asked Questions
What is chevron flooring?
Chevron flooring is a pattern made from short, diagonal lined parquet strips that form a V shape, known for its elegant and timeless appeal.
Can I lay chevron flooring by myself?
While it's possible for DIY enthusiasts with the right tools and skills to lay chevron flooring, hiring a professional can ensure a flawless finish.
How to lay chevron flooring on a budget?
To keep costs down, carefully plan your materials, consider sourcing overstock or discounted wood, and prepare by gathering all necessary tools in advance.
What tools are needed for installing chevron flooring?
Essential tools include a saw, adhesive, measuring tape, and a hammer. Having these on hand will help achieve precise and efficient installation.
How long does it take to install chevron flooring?
Typically, laying chevron flooring can take a few days to a week, depending on room size, preparation, and the installer’s expertise.
What type of wood is best for chevron flooring?
Both oak and walnut are popular choices due to their durability and classic appearance, enhancing the sophisticated look of chevron patterns.
Does chevron flooring require more maintenance?
Chevron flooring maintenance is similar to other wood floors: regular cleaning and periodic sealing to preserve its beauty and longevity.
Where in Tauranga can I find expert chevron flooring installers?
For expert installation in Tauranga, consider reputable businesses like Abstract Floors, who can guide you through the selection to installation process.


